Getting Started with Apache Nifi
- Update April 8th 2015: The Vagrantfile has been updated to pull the release tag 0.0.2 for stability
Install options
Apache NiFi is currently in incubation and so does not have any releases, so to start we have to checkout the project and build the code base. A users guide is avaialble on the nifi website with requirements for building and running nifi, mainly java 7 and maven 3.0.5+. OpendJDK will work but currently the unit tests will not pass. A quick tldr; can be found below.
Using Vagrant
If you like to keep your project dependencies seperate like me, I’ve created a Vagrantfile that will get all dependencies and then build the project in the shared /vagrant/ folder. After building it will start nifi and you can point your browser to localhost:8080/nifi/ and skip to Building a Simple Dataflow. The provisioning of the VM will take about 10-15 minutes depending on your hardware.
If you want to build it for yourself it normally takes 2-6 minutes depending on your system, with parrallel builds enabled. Clone from Apache Nifi git repo:
git git clone http://git-wip-us.apache.org/repos/asf/nifi.git
cd nifi
Once you have the source, first have to build the nar-maven-plugin.
cd nifi-nar-maven-plugin
mvn clean install
Now build the rest of the source from the root directory.
cd ../nifi
mvn -T C2.0 clean install
NiFi recently updated their build process so it now supports parrallel building of components using the -T maven arg to speed up the build.
The last step is to build the assembly and unpack the created tar.gz.
cp nifi-assembly/target/nifi-*-SNAPSHOT-bin.tar.gz ~/nifi-example/
tar -zxf nifi-*-SNAPSHOT-bin.tar.gz
After unpacking, cd into the directory and start NiFi in the background using the nifi.sh script in the bin directory.
cd nifi-*-SNAPSHOT
bin/nifi.sh start
Now open a browser and point to localhost:8080/nifi to view the NiFi flow UI.
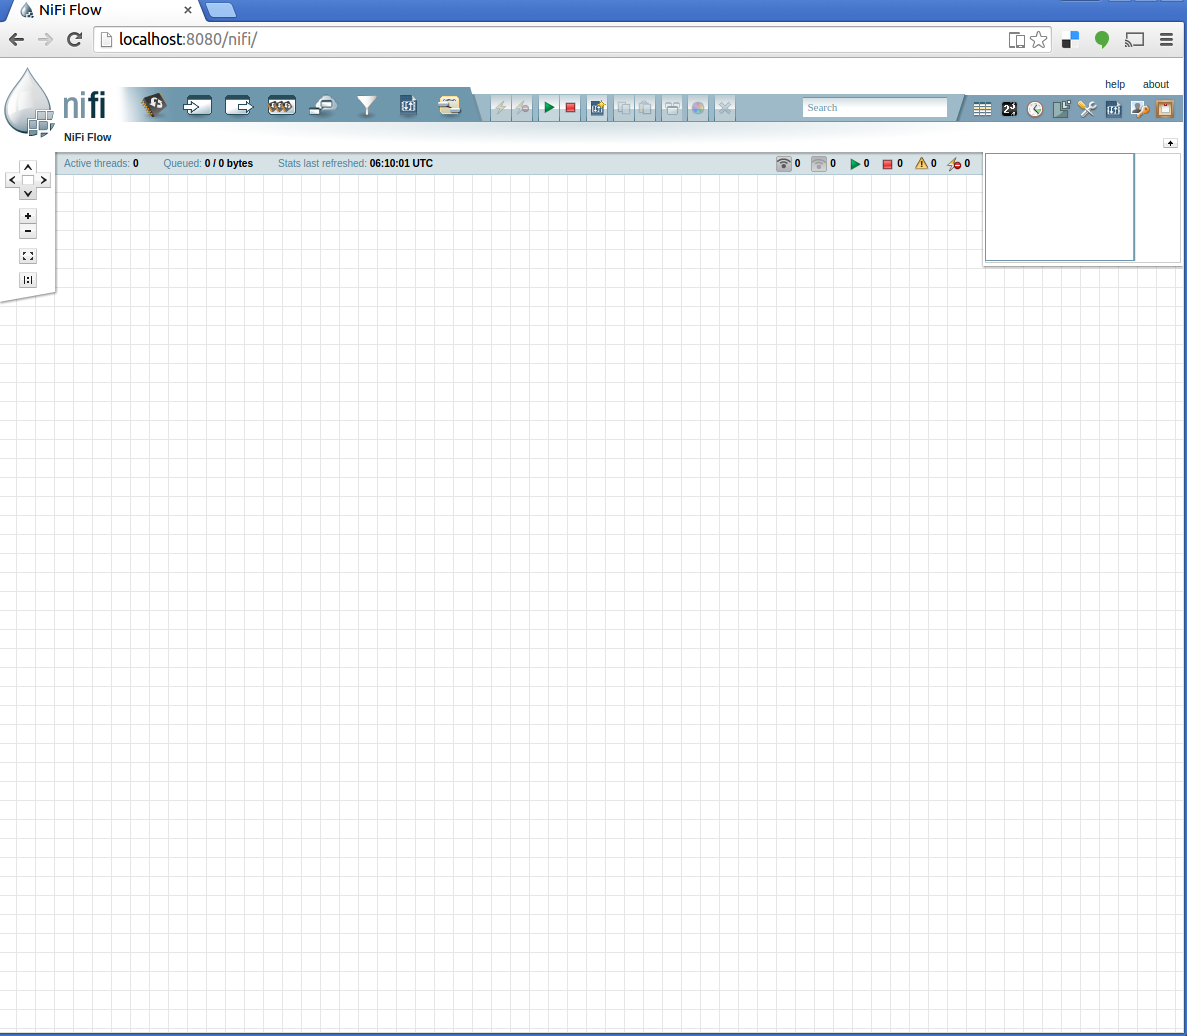
Building your first Apache Nifi dataflow
The homepage webpage for Apache NiFi is a grid with some options on the top of the page. This is where you build your data flows, the configuration of each processor and the relationship between processors. This is saved as a FlowFile and can be saved for later use or imported into another Apache NiFi instance. As an example, we’ll fetch an XML document from an RSS feed and then based on an attribute and move it to a predefined directory.
To start, drag the processor icon,  in the menu bar down to the canvas below. Select the GetHTTP processor from the list, you can use the search bar on the right side of the Add Processor modal or the Tags on the left to filter the list.

Right clicking on the processor brings up a dropdown that allows you to configure the processor along with a few other options.
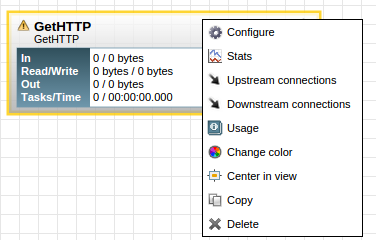
From this selection a “Configure Processor” modal opens. Most default settinsg are fine, you can change the name if you would like to “Fetch from XKCD”, but look through the tabs just to see what they contain. Select the properties tab to configure the options of the processor.

The URL we are going to grab a file from is XKCD’s rss feed, rss.xml. The GetHTTP procesor is simple to configure and just needs the URL property to be set to http://xkcd.com/rss.xml. Click on the value across from the URL property and enter http://xkcd.com/rss.xml.
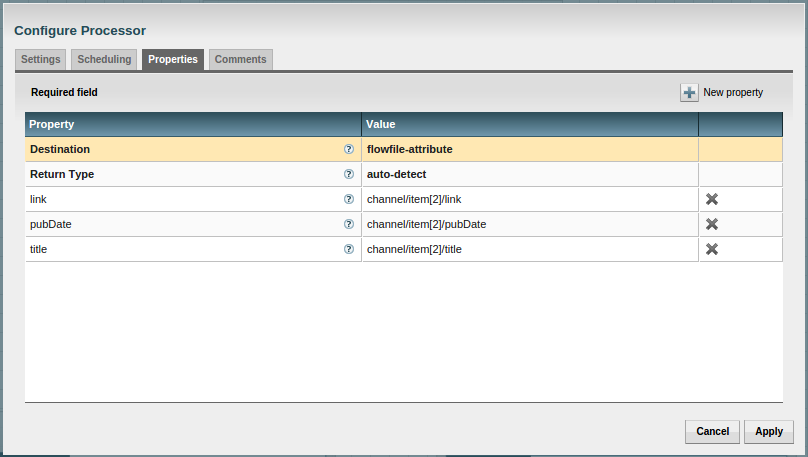
Now drag down another processor, EvaluateXPath. Under the properties for this processor, set the following property-value pairs:
- Destination - flowfile-attribute
- Return Type - auto-detect
Now add a new property as follows by clicking the New property symbol in the upper right side of the Configure Processor modal.
- pubDate - channel/item[2]/pubDate
- title - channel/item[2]/title
- link - channel/item[2]/link
After applying the changes, we can now connect the two processors we have. Click the middle of the GetHTTP processor and then drag to the EvaluateXPath processor. A new modal will appear to confirm the relationship and click ok. After connecting the two. 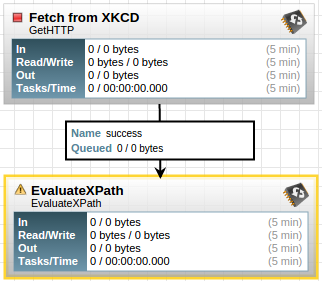
We are almost done, just two more PutFile processors to go. Before we add the next two processors, we need to create two directories to put matched and unmatched files. (This is really optional since the PutFile processor will create the directory by default if it does not exist, but it’s easier to do in advance knowing the full path.) If you used the Vagrantfile that I linked to earlier, these directories are already created for you, so you can skip this part. If you did not, just create a directory called matched and unmatched and remember the full path.
Now add two PutFile Processors and change one name to matched, the other to unmatched. Both PutFile processors will have auto terminated relationships for failure and success. These are checked off on the Settings tab when configuring each processor. 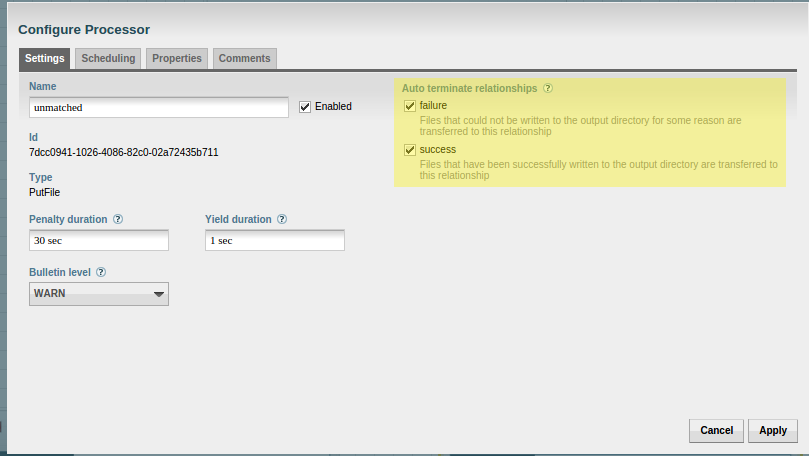 For the matched PutFile processor, change the directory property value to the directory you created earlier called matched, with the full path. If you are using the Vagrantfile, the directory is “/vagrant/matched/”. For the unmatched PutFile processor, do the same thing for the unmatched directory you created, “/vagrant/unmatched/” if using the Vagrantfile.
Now wire the last few processors, EvaluateXPath and the two PutFile processors. Make sure to connect the correct relationships from the EvaluateXPath for the matched and unmatched. Lastly, wire the failure relationship for the EvaluateXPath back to itself by left clicking on the processor as you normally would to connect processors, pulling away and then back to the original processor and then select failure from the relationship modal. This allows failures to retry on the processor they failed on, EvaluateXPath in this example.
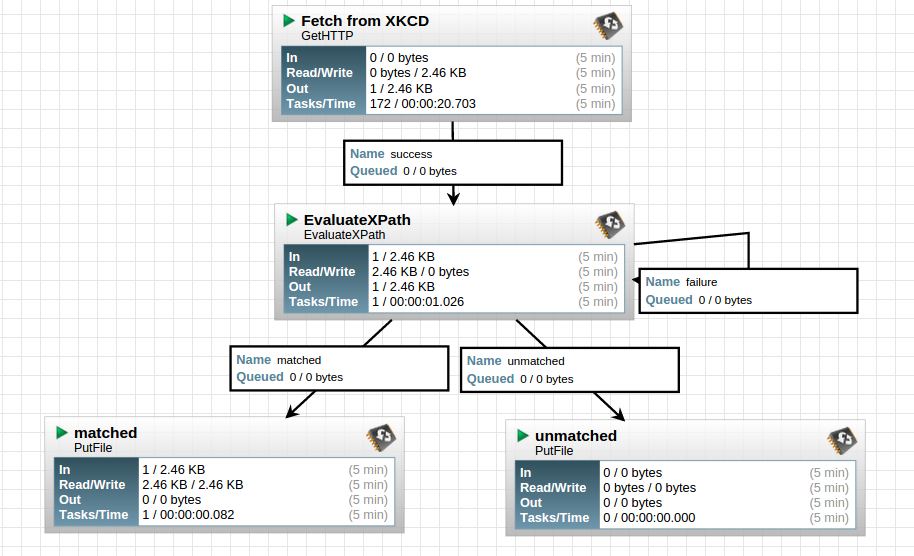
Your final flow should look similar to this.

All processors should be stopped and have a red square in their top left. If they have an exclaimation mark in a yellow triangle, then there is an issue with the processor. Hover of the yellow triangle to get more information. (To see an example, remove one of the auto terminate relationships from a PutFile processor).
Now we can run our flow file and see what happens! Run the flow by clicking the play button in the flow menu bar.

Make sure you don’t have a processor selected or it will only start that one processor. After running, it should pull down the rss.xml file, parse the attributes, and route it to the matched directory via the PutFile processor. You can view the statistics on each processor from the flow, In and out, and Tasks/Time. After it grabs the file, it should look similar to below. You can check the directory you specified in the matched PutFile processor and the file should be there!
I hope this simple walk through of creating a flow was helpful and you can start to see the power behind Apache Nifi. In our next post we will show you how to create a custom processor and add it to your flow.